Please strictly follow the Instruction for Use, no matter in testing or clinical application.
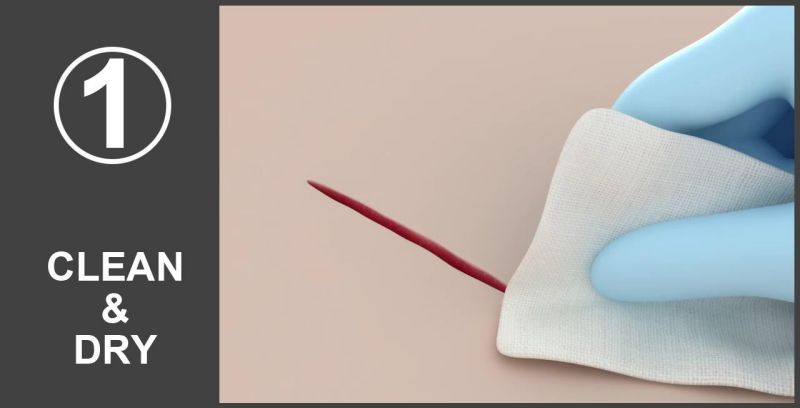
Step 1. Clean & Dry
Clean the adjacent area of the incision and ensure there are no tissue fluid, blood, lipid, or other contaminants around the skin of the incision, and wait for the antimicrobial solution is completely dry for the best adhesion.
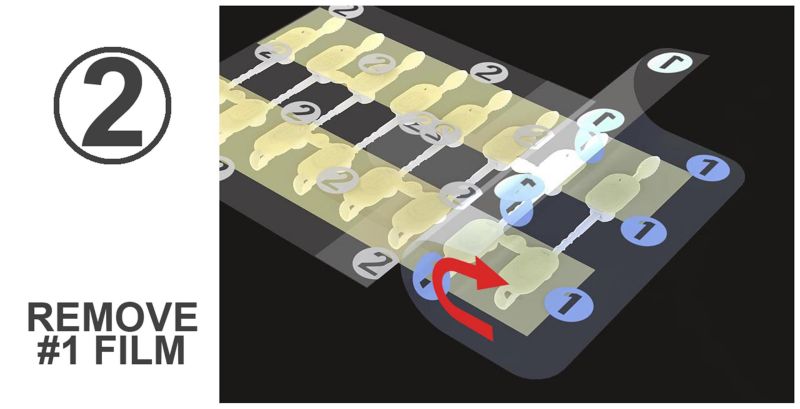
Step 2. Remove the Releasing Paper #1
Remove the #1 releasing paper (Blue number) to expose the adhesive on one end of the device.
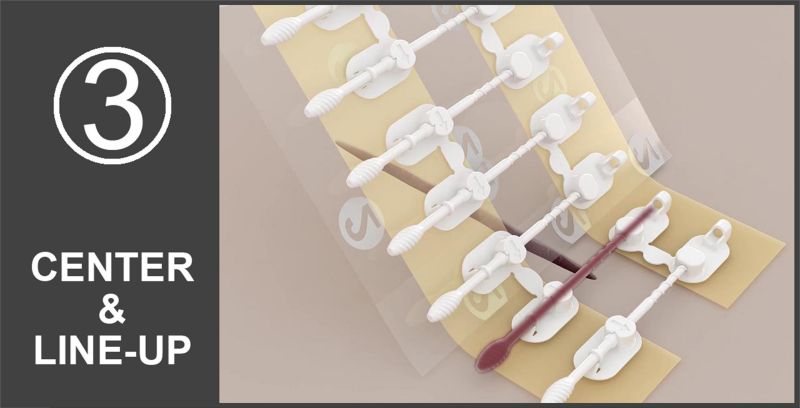
Step 3. Align and Apply
Align the second regulating lever to one end of the incision. Apply the BI-FIX device on the skin, try to keep the incision centered between two tapes.
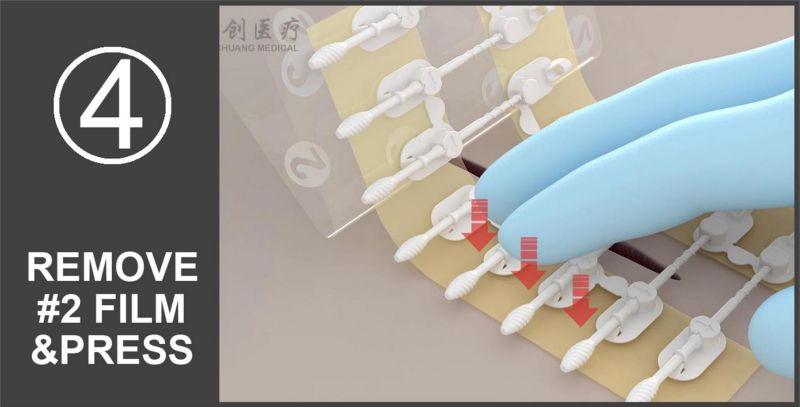
Step 4. Remove the Releasing Paper #2
Remove the #2 releasing paper (Orange number) and press the BI-FIX device to stick to the skin at the same time by the other hand.
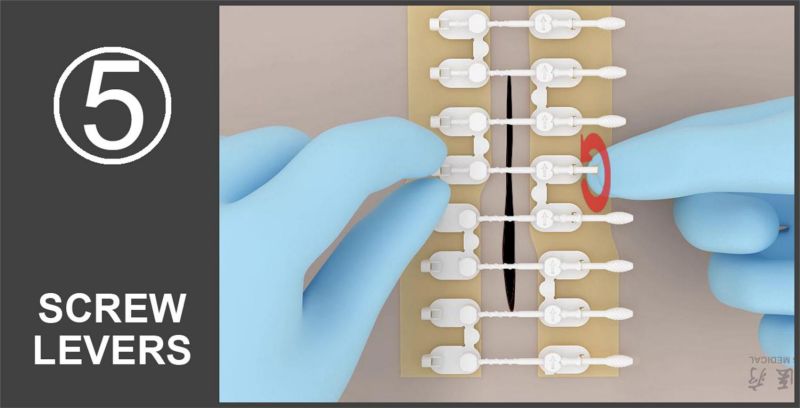
Step 5. Close the BI-FIX
Screw the regulating levers clockwise to fully close the incision, do not screw too tight at the first round to leave space for the adjustment accurately.
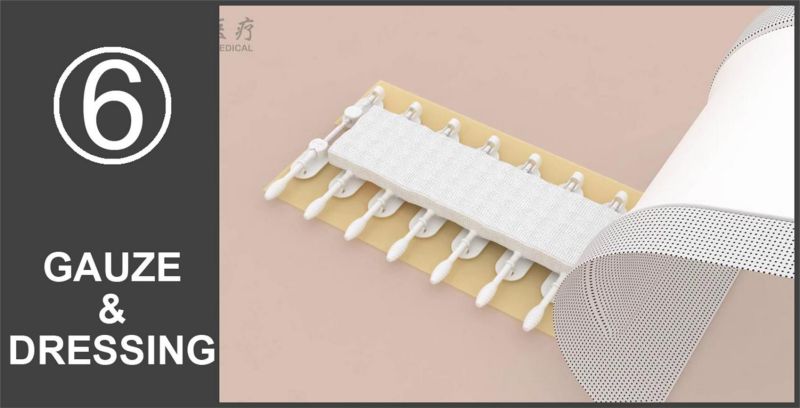
Step 6. Cover Strip Gauze and Medical Dressing
Cover the strip gauze over the incision to absorb the exudate and cover the dressing on top of it.
An instruction video for BI-FIX 2cm Model in Application and Removal
In this video, you can find out how to apply and remove the BI-FIX (2 cm model). Be aware that we aligned the 1st lever to the incision while usually the 2nd lever of other models is aligned to the incision.
Contact us if any questions about operation instructions.
Graphic Instructions and Cautions
The following is a PDF file showing how to use BI-FIX (2cm Model). Down and save it on your device or print it for operation instructions in clinical application.